
Do you want to learn how to disassemble your AR-15s bolt carrier group (or BCG)?
You’ll be excited to know that you’re about to learn how.
As a platform, the AR-15 has earned a reputation for its exceptional reliability across various types of environments.
However, like any firearm, the AR-15 requires regular cleaning and maintenance to ensure consistently reliable performance.
You should clean all parts of your AR, but one component that needs special attention is the BCG.
In this guide, I’ll cover the different components that make up your ARs BCG, the tools you need to disassemble it for cleaning, and the step-by-step process you’ll need to follow to do so.
Let’s get started!
What is the Bolt Carrier Group of an AR-15?
In a nutshell, the BCG is responsible for loading, firing, extracting, and ejecting cartridges during the AR-15’s operation.

It consists of the following components:
Bolt
The bolt is a cylindrical component that houses the firing pin and extractor. It locks into the rifle’s barrel extension during firing and extracts spent cartridges from the chamber.
Carrier
The carrier is a larger component that houses the bolt and reciprocates within the upper receiver during firing. It transfers the energy from the fired cartridge to the rifle’s buffer assembly, cycling the action.
Firing Pin
The firing pin is a slender metal rod housed within the bolt. When struck by the hammer, it strikes the primer of a cartridge, initiating ignition.
Extractor
The extractor is a claw-like mechanism mounted on the bolt that grips the rim of a cartridge case, facilitating extraction from the chamber.
Gas Key
The gas key is located on top of the carrier and interfaces with the gas tube. It directs high-pressure gas from the rifle’s gas system into the bolt carrier to cycle the action.
Cam Pin
The cam pin is a small, cylindrical pin that secures the bolt to the bolt carrier. It allows the bolt to rotate and lock into the barrel extension during the firing cycle.
It’s vitally important for you to properly clean your bolt carrier group to maintain proper reliability out of your AR-15.
To clean it, you’ll need to disassemble it…
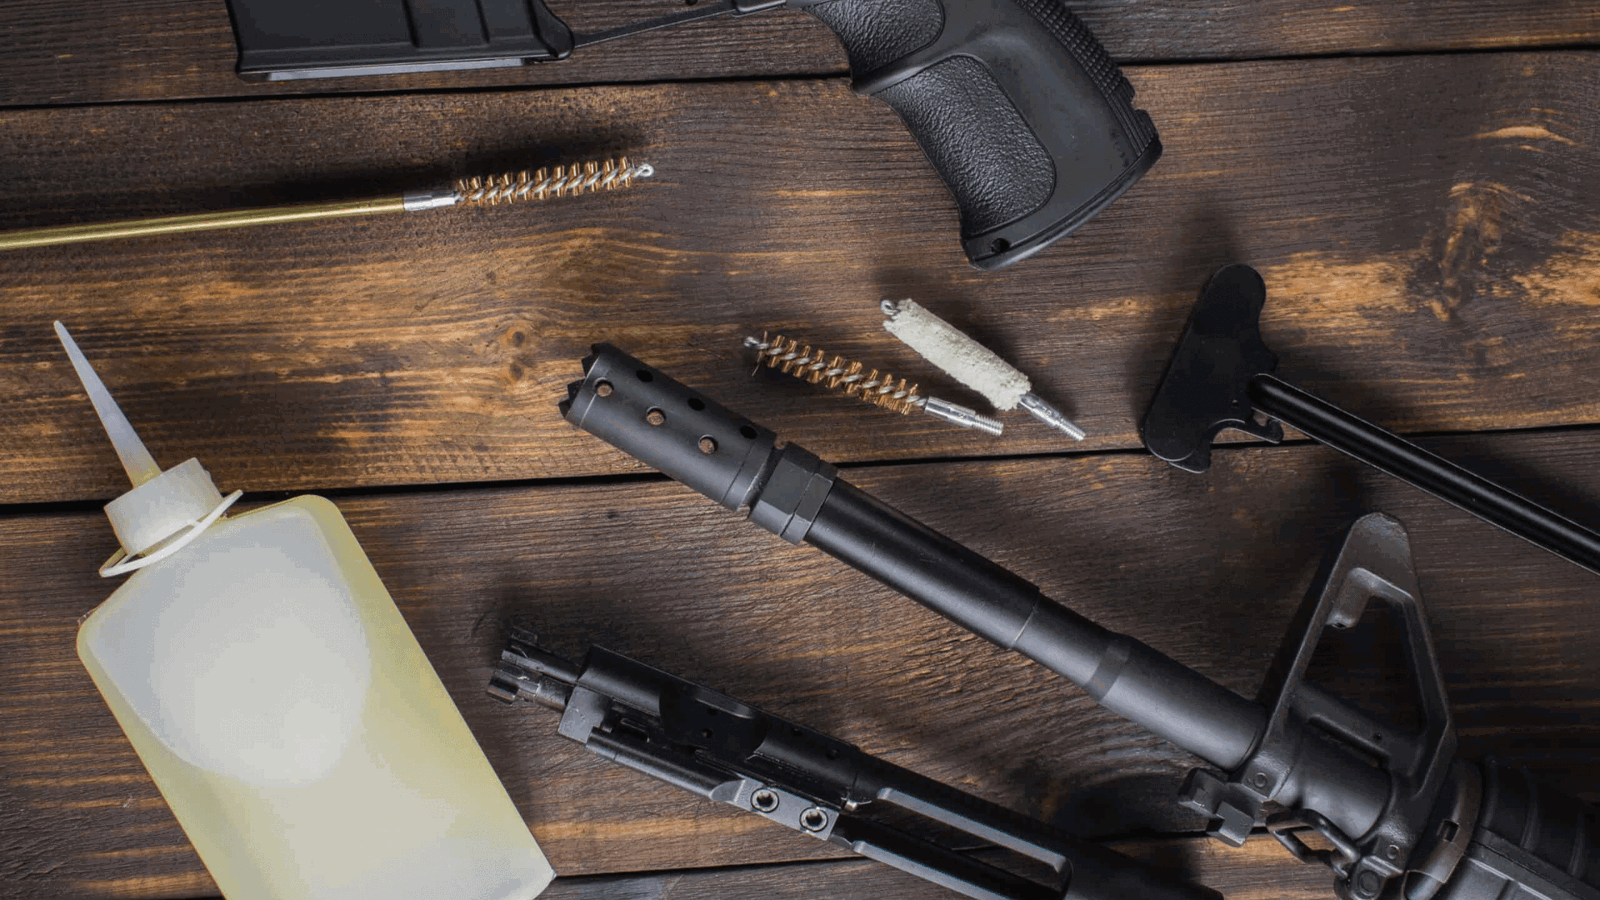
The Tools You Need To Disassemble the Bolt Carrier Group
You’ll need to accumulate the following tools to disassemble your BCG:
Brass Brush

You’ll need to employ a brass brush to effectively remove carbon and brass fouling from the bolt face, ensuring optimal performance.
Copper/Carbon Solvents

Opt for a solvent-heavy approach by thoroughly soaking the bolt and carrier.
Cotton Swabs

Cotton swabs can be used reaching tight spots inside the bolt, especially around the firing pin area.
Gun Oil

You’ll need gun oil to ensure proper lubrication of your BCG.
Needle Nose Pliers

You’ll need these to remove the firing pin’s small cotter pin, ensuring smooth disassembly.
Small Pin Punch

You’ll need a punch to tap out the bolt’s extractor with precision using a small pin punch, facilitating easy removal.
Once you have gathered the above items, you’re ready to disassemble the BCG.
Steps To Disassemble the Bolt Carrier Group
To disassemble your BCG, follow these steps:
- First, ensure your rifle is unloaded and the safety is engaged. Then, separate the upper and lower receivers of the AR-15.
- Pull the charging handle to the rear to retract the bolt carrier group fully.
- Once the bolt carrier group is fully retracted, you can push the rear takedown pin located above the pistol grip. This will allow you to pivot the upper receiver away from the lower receiver. Now you can carefully remove the BCG from the upper receiver.
- Use needle-nose pliers to grasp and remove the small cotter pin retaining the firing pin in place. Set the cotter pin aside for reassembly later.
- Rotate the bolt cam pin 90 degrees and pull it from the bolt carrier.
- Slide the bolt assembly out of the bolt carrier. Be mindful of the orientation of the bolt as you remove it.
- Use a small pin punch to push out the retaining pin located on the side of the bolt. Once the pin is removed, the extractor should slide out easily. Take care not to lose the small retaining pin.
And just like that, your BCG is now fully disassembled!
You can now clean each component of the BCG using your cleaning kit. It’s very important that you apply oil to and then wipe each component to make sure it is clean of carbon build-up.
Speaking of which…
Cleaning Your Bolt Carrier Group
Carbon buildup can accumulate in your AR-15 overtime If your BCG isn’t adequately cleaned.
This can lead to potential reliability issues in the form of incomplete primer strikes or failure of the bolt to fully seat.
While you’ll want to clean the entire BCG as a whole, there are certain components that you’ll want to pay special attention to:
- The small groove at the tip of the extractor is often overlooked but is absolutely critical for proper function. This groove is responsible for gripping the rim of the cartridge during extraction.
- Carbon buildup in this area can prevent the extractor from securely grasping the casing, leading to extraction failures or double feeds.
- Make sure that the firing pin is free from any carbon buildup to maintain smooth movement within the BCG. Any residue on the firing pin can hinder its operation and potentially cause light strike malfunctions.
- Finally, focus on the interior areas of the BCG body as a whole. Apply gun oil to the entire surface and wait for a few minutes to let it sit before you use cotton swabs or a bronze bore brush to scrape away the carbon deposits.
You can finish cleaning by using power swabs to remove any loose carbon and excess oil over the surface of the BCG, and then proceed to reassemble and reinstall it.
Function Testing Your BCG
Remember to function test your AR after reassembling your BCG and putting the rifle back together.
After re-confirming that the firearm is empty, pull the charging handle to the rear.
Pull the trigger and keep it depressed, and then pull the charging handle to the rear again.
Release the trigger and if you hear an audible click to indicate that it has properly reset, you’re good to go!
Do you have any more questions on how to disassemble your bolt carrier’s group? Let us know below!
